

Transfer Your Content Before It's Too Late!
- Melissa Brayall
- Jun 6, 2025
- 5 min read

At the end of each school year, many move on to new things. Seniors graduate, teachers retire or change jobs, people relocate...and all of their cloud-based files simply disappear once their email address is deactivated. So what do you do if you want to keep some of your files or transfer them to someone else?
Google Drive
FYI - your school Google account does not have a storage limit, but personal accounts do. If you want to transfer everything to a personal account, you may need to pay for increased storage in your personal account. This page will show you how much storage you are currently using and if you are logged into your personal account, you will see an option to purchase additional storage if necessary.
Staff Only - Transfer Your Own Files to a New Account
YOU SHOULD NOT BE TRANSFERRING ANY CONTENT THAT INCLUDES STUDENT NAMES OR ANY OTHER PERSONAL IDENTIFIABLE STUDENT INFORMATION!!
Start in your school Google Drive:
On the left side, click "Shared Drives."
Click "New" in the top left to create a new Shared Drive - give it a name.
Once the new Shared Drive is created, click on "Manage Members" at the top.
Add your personal (or new work) email address and make it a "Manager".
Click "Share Anyway" when it warns you about sharing with an external account.
Go back to your My Drive. On the left side, click on the arrow next to "Shared Drives". This should show you a list of all of your Shared Drives.
Start going through the files in your Drive. As you find things you want to keep, click and drag them into the Shared Drive.
Once you have finished going through your Drive and have moved everything you want to keep into the Shared Drive, then log into the account you entered in Step 4 above.
Navigate to the Shared Drive in the new account and then select everything (ctrl-A is the keyboard shortcut for Select All).
Click and drag everything into "My Drive".
Students Only - Transfer Your Own Files to a New Account
This option will transfer ALL of your Drive and/or Gmail data to a new Google account.
Go to takeout.google.com/transfer.
Enter the email address of the Google account that you want to transfer the data to.
Verify the account by checking your email and clicking the "Get confirmation code" button.
Choose whether to transfer your entire Drive, your entire Gmail, or both - and then start the transfer.
Depending on the size of your Drive and number of emails, this process could take minutes, hours, days, or weeks to complete, but you do not need to keep anything open. You will receive an email when it is complete. Your new Drive will now have a folder that contains everything from your Londonderry Drive.
Leaving Files For Others
Option 1: Move Files to a Shared Drive
If you are the owner of files that are shared with your department or a club/activity, the easiest thing to do is move those files into a Shared Drive. By doing this, the Shared Drive becomes the owner of the files rather than an individual. This means that the files will never be deleted when people leave the district. Please note that only teachers can create Shared Drives, but students can be added to contribute. To move entire folders into a Shared Drive, you must be a Manager.
Option 2 - Transfer Ownership of Drive files
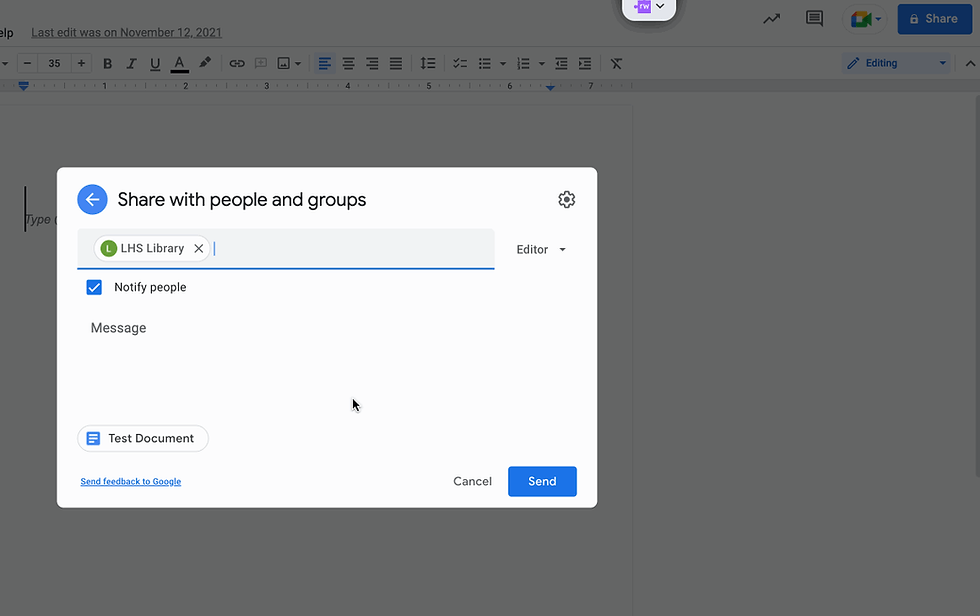
If you don't want to use Shared Drives and instead just want to transfer just a few files to someone else in the district, you can do that by changing the ownership of the file. To do this, first share it with the new person as an editor. Then return to the share screen and change them from "Editor" to "Transfer ownership". Note that you can only transfer ownership to someone else in your school district's organization. Also note that this CANNOT be done with folders - only individual files.
OneDrive
Transfer Your Own Files to a New Account
OneDrive is a little tougher because you may not have access to another OneDrive account. They are not free. If you do not have a personal or new work OneDrive account, the easiest option is to upload files from your school OneDrive to your personal or new work Google Drive or just download your OneDrive files to a flash drive. If you do have access to another OneDrive account...
Create a new folder in OneDrive.
Drag all the files you want to keep into that folder.
Share the folder with your personal/new work Microsoft account.
Log into your personal/new work Microsoft account.
Download the shared folder.
Leaving Files For Others
Same steps as above, but instead of sharing the folder with your personal Microsoft account, share it with someone else in the district. They should then copy or download the files.
For both of these processes, please ensure that you download or make new copies of all files. Shared folders are still owned by the original owner, so if you don't download or make copies, they will be deleted when the owner's account is deactivated.
Canva
Transfer Your Own Files to a New Account
First, you will need to create a Canva account with your personal (or new work) email. As a school district, we have the full pro version of Canva. There are limitations to the free personal version of Canva, so you may find that some features on your files may not work. There is also no magic way to do this with all of your files - you will need to share them individually.
Open the file you want to transfer.
Share it with your personal or new work email (with edit access).
Login to Canva with your personal or new work email.
Open the shared file.
Make a copy of the file (File -> Make a Copy).
Leaving Files For Others
Same steps as above, but instead of sharing the file with your new account, share it with someone else in the district. They should then copy the files.
Leaving Your Entire Canva Account For Someone Else
New this year...if you want all of the files in your Canva account transferred to someone else in the district, reach out to your Digital Learning Specialist and let them know who you want the content transferred to. This only works for your ENTIRE account, not individual designs.
WeVideo
WeVideo projects cannot be shared outside of the school district. If you want to keep any of your projects, you will need to export them first. Then you can share or download the exported file.
Leaving Files For Others
If you want someone else in the district to own your WeVideo projects, you can add them as a collaborator:
Open the project that you want to share.
Click the Invite Collaborators icon (the person with the + sign at the top of the project)
Type in the name/email of the person you want to have the project.
The new person will then open the project and make a copy.
To all staff and students who are moving on to new places - best of luck to all of you and I hope these overviews help make your transition a little easier! As always, please feel free to reach out if you need any assistance with this!
Comments